Setup and Quick Start
To use panda-client API in notebook, you need to set it up first.
Setup Jupyter interface
[ ]:
from pandaclient import panda_jupyter
panda_jupyter.setup()
Import panda-client API
[ ]:
from pandaclient import panda_api
c = panda_api.get_api()
At this stage all end-user python APIs are available in the notebook. Try a toy example,
[ ]:
from pandaclient import panda_gui
x = panda_gui.show_task(23518002)
which will load data from PanDA, convert them to a pandas dataframe, and show some plots after some delay.
Get an OIDC ID token
You need to get an OIDC ID token unless you use X509 authentication with grid middleware. The following method triggers the device code authentication flow and gives a PanDA IAM URL to redirect to your identity provider.
[ ]:
c.hello()
If you already have a token you will immediately see an OK message. Otherwise, you will see something like
INFO : Please go to https://panda-iam-doma.cern.ch/device?user_code=EEPGDH and sign in. Waiting until authentication is completed
INFO : Ready to get ID token?
[y/n]
Note that you need to get a token to the URL before entering y in the prompt.
Once you go to the URL using your web browser, such as Chrome, FireFox, etc, you will be asked to sign in with your own ID provider.
Then you will be navigated to a federated IAM platform, CILogon, to choose your own identity provider.
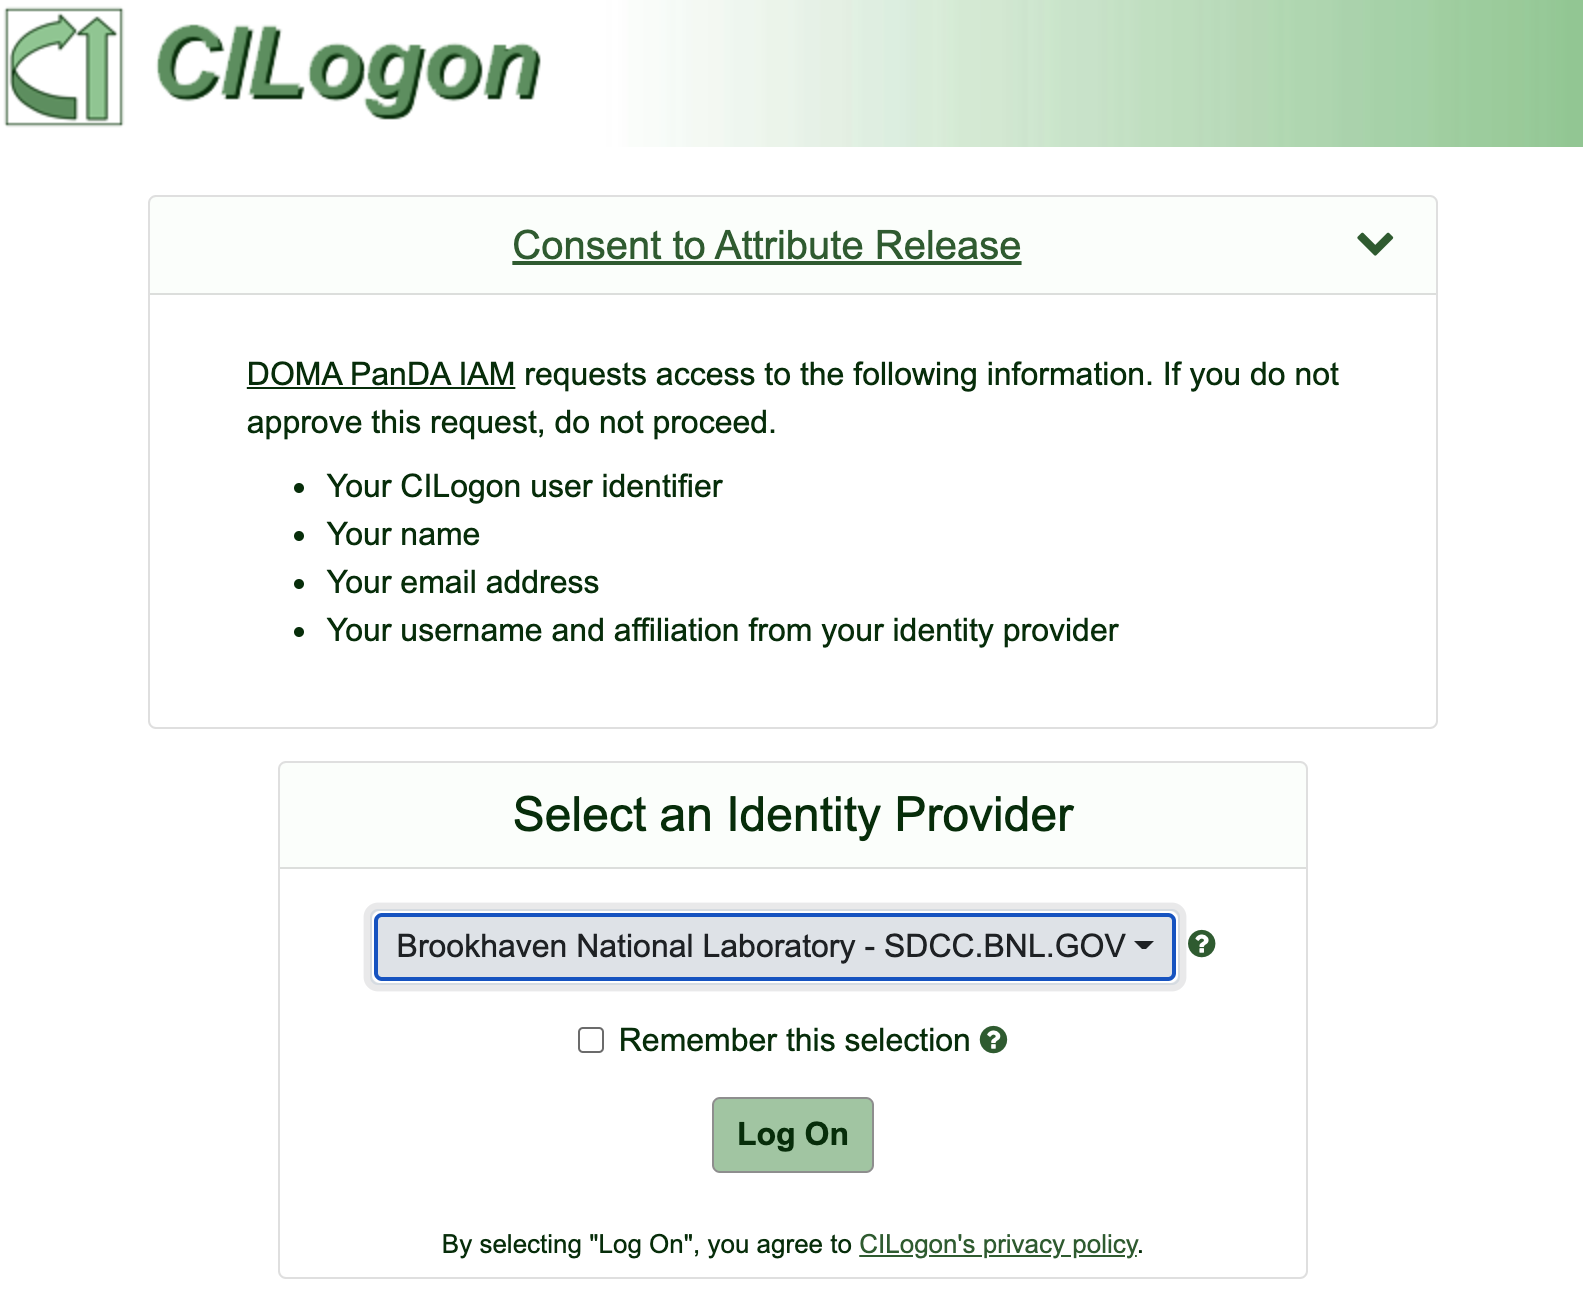
When you successfully sign in you need to approve the virtual organization to retrieve your profile, such as name and email address, from your identity provider.
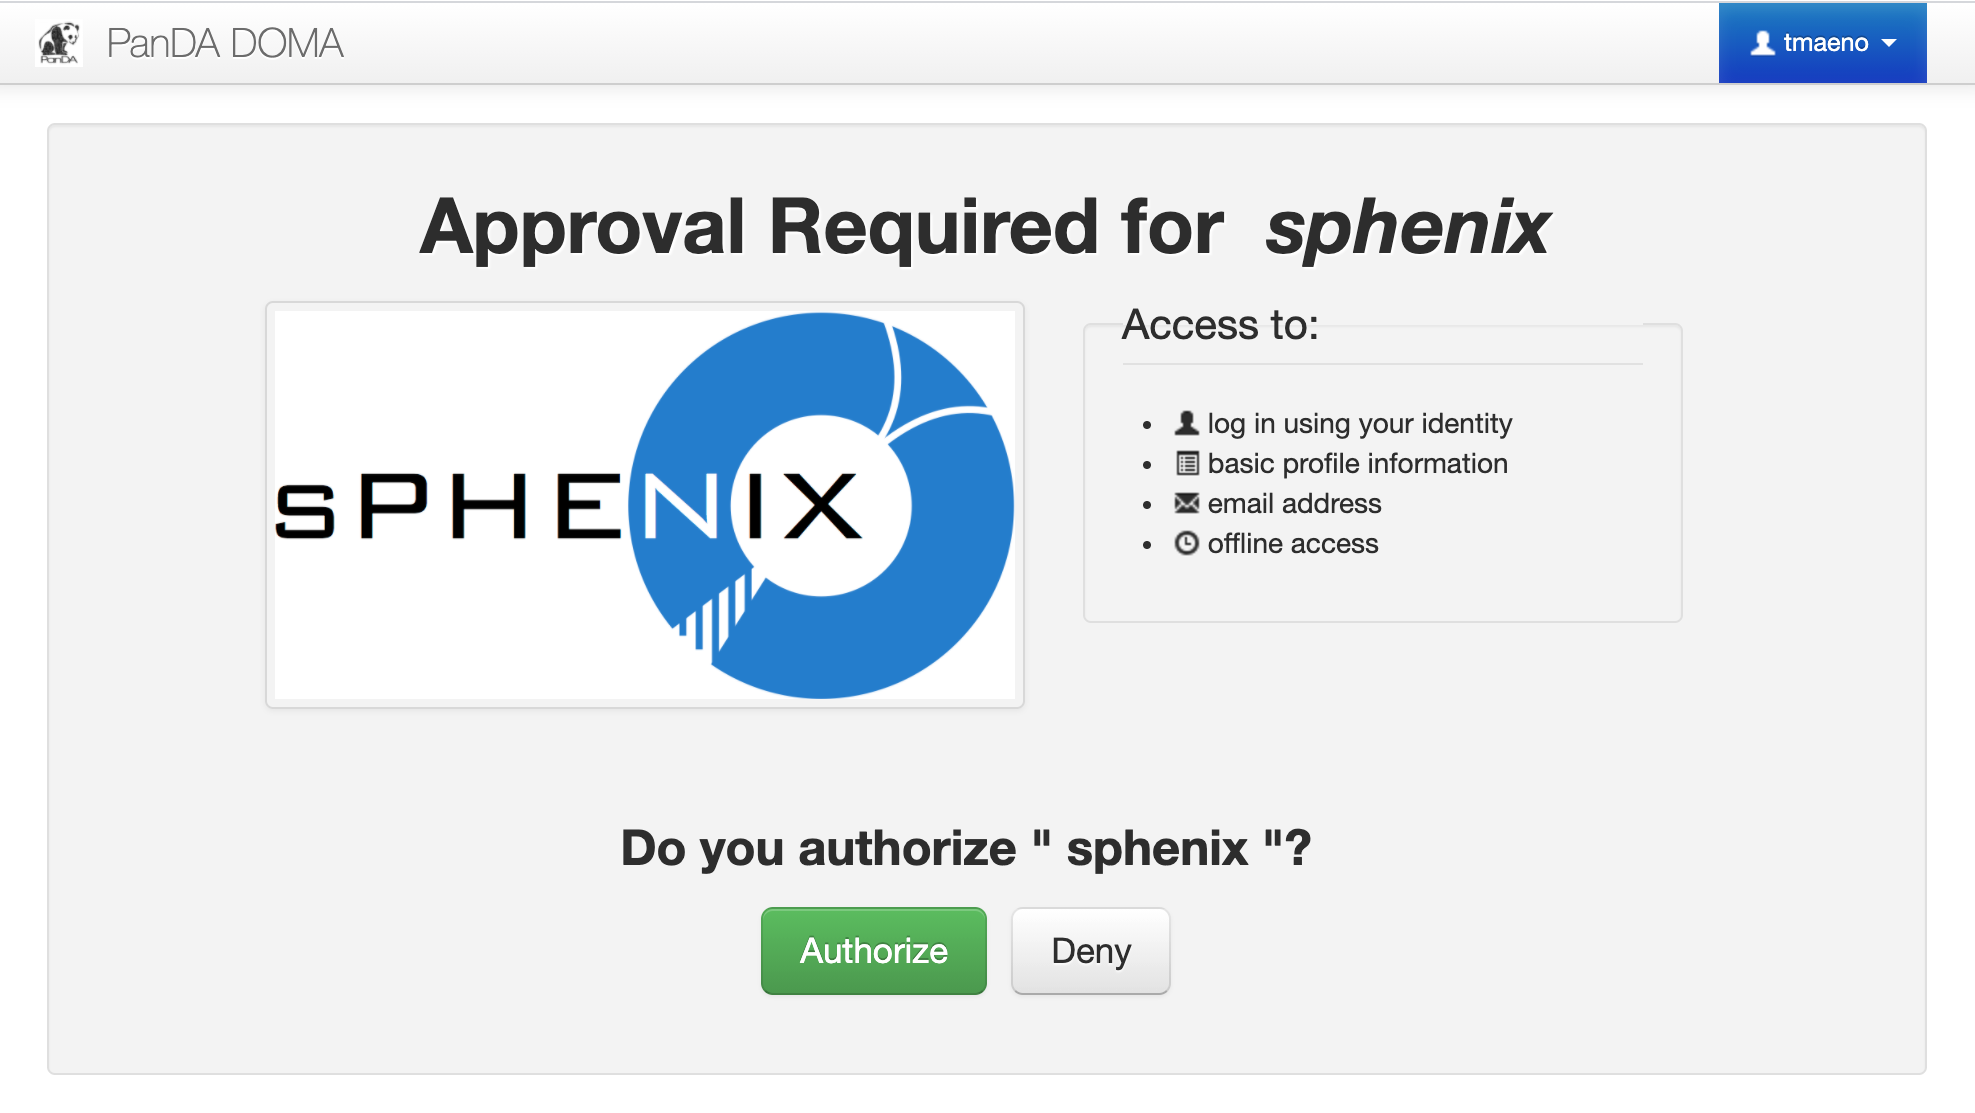
You approved it and see a succeeded message in your browser, and now you can enter y in the notebook prompt to get a token.
[y/n]
 y
INFO : All set
OK
Generally you don’t have to repeat the procedure once you get a token since it is automatically renewed.
Download notebook